Levelling up your phone pics could be easier than you thought with these sneaky hacks.
Wondering why other people’s phone pics look like they hired a photographer while yours look like you’re underwater? A simple fix could be the trick you’re missing. Here are ten ways to level-up, no special apps required.
1. Clean your lens
Obvious? Yes. Easy to forget? Also, yes. And if your phone pics look like they were taken in a steam room, this is a likely culprit. A quick wipe (preferably with a microfibre cloth to avoid scratches) can turn a fuzzy scene crisp. Take it up a notch by using special lens-cleaning wipes or a lens cleaning kit.
2. Use natural light
Pics that look grainy – almost like an old movie – could have a lighting issue. Some modern smartphone cameras cope pretty well in low-light conditions. But if natural light is available, use it. Make sure your subject doesn’t have their back to the sun or (any light source) to avoid a silhouette look.
3. Time your phone pics
If the scene looks like lightning struck as you pressed the button, it could be overexposed. Shoot in the late afternoon or early morning rather than midday when the sun’s overhead. This will help you avoid harsh lighting and deep shadows.
4. Clean up the background
You know how influencers will sometimes post a flawless fit but all you can see is their unmade bed in the background? Take a minute to de-clutter and you will instantly elevate your phone pics.
5. Use the rule of thirds
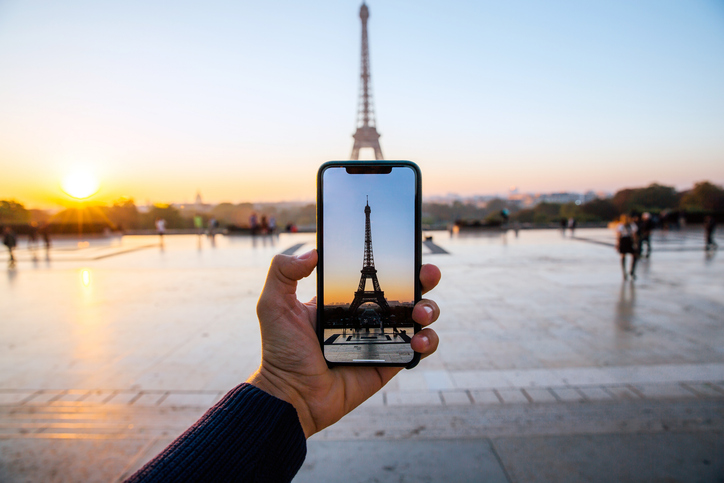
This basic rule of photography is all about balance. Imagine a 3×3 grid over the screen (some phones have this view available in settings). Position a key element (e.g. the person you’re shooting) along one of the vertical grid lines. Yes, they’ll be off-centre – that’s the point. You can also use the horizontal lines. Say you’re shooting a sunset – position the horizon along the bottom horizontal line so the sky fills most of the screen.
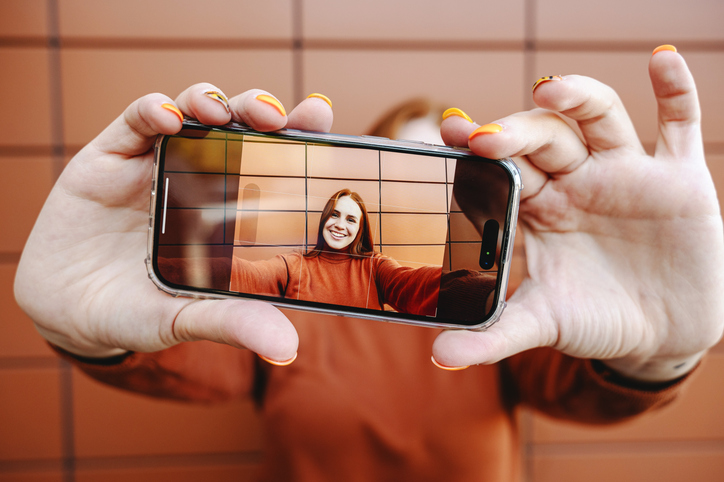
6. Turn your phone to match the platform
Shoot with the end result in mind. Most social platforms these days prioritise portrait (vertical) pics, so if you’re shooting for the Gram, keep your phone upright.
7. When in doubt, use the rear camera
Most phones (especially older models) have a better-quality rear camera with more lenses giving you more options of modes and settings.
8. Tweak your settings
You can go full-on photo geek and manually adjust settings or play around with different modes – using portrait mode creates that effect where the subject is crisp and the background is softly blurred.
9. Get your angles right
Millennials love holding their phones up high, but the awkward reality is shooting from above can make you look like a bobble head. Not a good look. Similarly, shooting from below can make you look like a giant. Keep it natural-looking by keeping the camera straight on. When shooting children and pets, crouch down to their level to turn meh phone pics into striking portraits.
10. Easy on the zoom
Sometimes zooming in is unavoidable but depending on your device, it may make your phone pics lose quality. A typical sign: they look blurred, grainy and dull. Rather move closer to the subject if you can.
Find your picture perfect phone and browse the latest deals here.