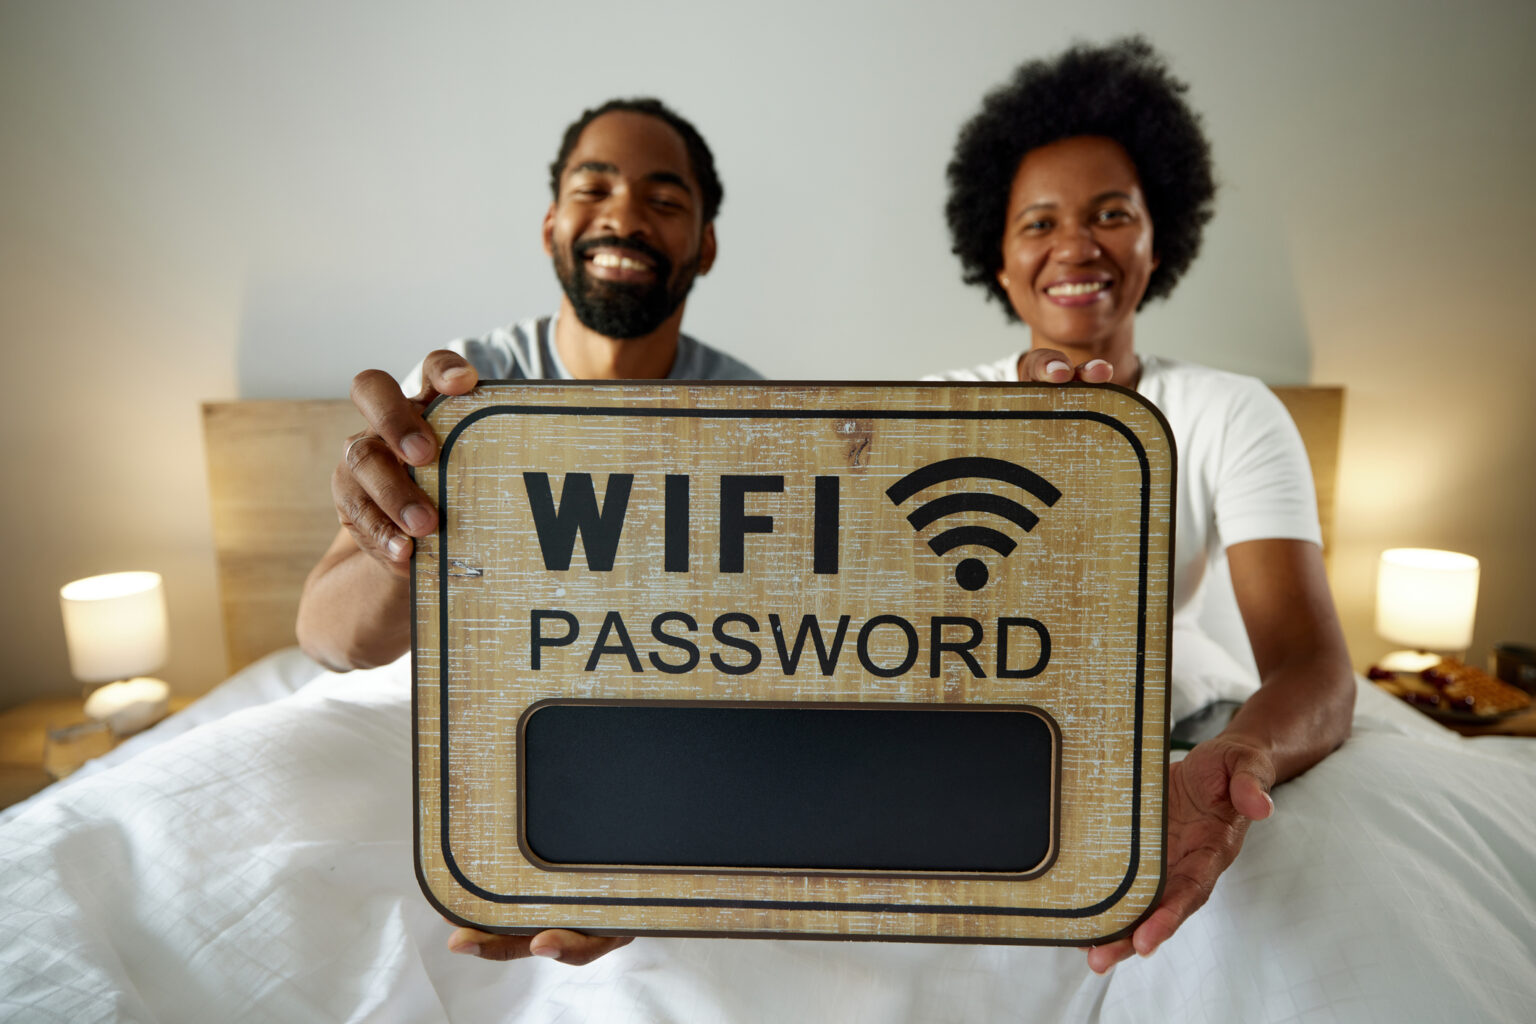
Stop sharing your main WiFi with guests. Learn why a guest network matters and how to set one up in four steps.
You’ve been there. Guests arrive, and seconds after they drop their bags they want to know: “What’s your WiFi password?” So you oblige – sharing what is essentially a family secret with another group of people. These visitors are now on the same network as your laptop, your phone, your smart TV, and every other device you own, slowing them down and compromising their security as well.
This doesn’t mean you have to be selfish with your WiFi. But there is a better way to do this — and it only takes five minutes to set up.
Create a Guest Network: Why do you need it?
- Enhanced Security and Privacy: When guests connect to your main WiFi, they are also connected to every device on your local network. They may not be able to turn on your smart air-fryer, but, if they have any undetected malware on their devices, they can spread it to your devices in seconds.
- The Guest Network Save: A guest network acts as a digital quarantine – it provides internet access but completely blocks visibility to your private network, shared files, printers, and media servers.
Network Performance Management
More people on your network means more bandwidth being taken up, which is bad news for your connectivity speeds. This becomes an even bigger problem when that one overbearing guest decides they want to download their latest binge-watch to their phone on your dime.
The Guest Network Save: Many routers let you apply specific rules to a guest network, like bandwidth limits so that guest activity doesn’t affect your speeds through heavy downloading or streaming. Some routers even allow you to set time limits that automatically disconnect devices after a specific duration – perfect for that one friend who overstays their welcome.
Easier Password Management
Your main home WiFi should have a long, complex password to keep malicious actors out. But nobody wants to dictate a 26-character password to a houseguest.
The Guest Network Save: A guest network allows you to set a simple, easy-to-remember password – making sharing stress-free without compromising your main network’s security.

How to Set Up Your Guest Network
Now that you know the why, it’s time to get stuck into the how. Here is a simple four-step process to set up your guest WiFi.
Step 1: Access Your Router
Connect to your current WiFi network and open your router’s companion app – such as Google Home or TP-Link Tether. Alternatively, type your router’s IP address found on the router (typically 192.168.1.1 or 192.168.0.1) into a web browser address bar.
Step 2: Log In
Enter the administrator username and password. If you have never changed them, you’ll find them on a sticker on the router itself. Usually, “admin” is the most common default.
Step 3: Locate Guest Settings
Navigate to the Wireless, WiFi Settings, or Advanced Settings menus to find the Guest Network section. The exact location varies by router brand, but it is almost always tucked under one of these headings.
Step 4: Configure and Enable
Toggle the guest network on, assign it a unique name (something fun like “HouseGuestsOnly”), and set a password that differs from your main WIFI password. Then save your settings, and you are done.
The next time someone asks for your WiFi password, you can hand over the guest one with confidence – knowing your devices, your files, and your privacy are all safely locked behind a separate door. It is one of those small changes that genuinely makes a big difference. Need a router to get connected (and set up a guest WiFi network on)? Check out these Vodacom Home Internet deals.
Browse our latest stories to experience tech made easy.